
Tools
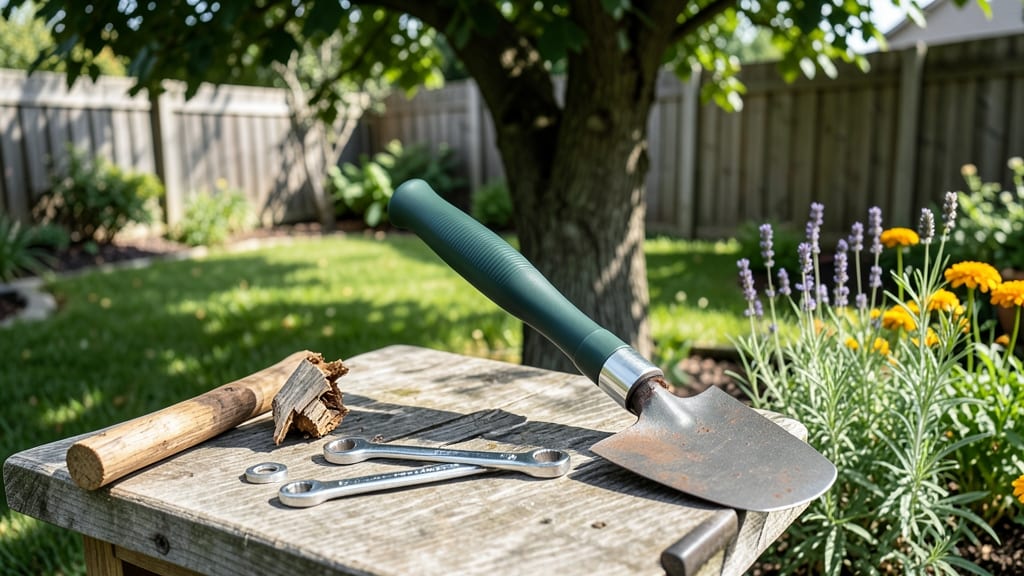
3 Best garden hoe handle replacement options for durability & comfort
A garden hoe is only as good as its handle. When yours cracks, splinters, or becomes too heavy, it's time for an upgrade. The right replacement can transform your weeding experience from frustrating to effortless.
Whether you're tackling thick weeds in your vegetable patch or maintaining your lawn edges, the handle you choose makes all the difference. Let's explore the top three options that balance durability, comfort, and ergonomic design for different gardening needs.
Not all handles are created equal. Wooden handles offer a classic feel but require maintenance, while modern materials like fiberglass and ergonomic rubber provide long-lasting performance with added comfort. Each option has unique advantages depending on your gardening intensity, budget, and personal preference.
I've tested these materials firsthand and compared their performance in various conditions to bring you the most practical recommendations.
Here's a detailed comparison of the three best garden hoe handle replacement options to help you make an informed decision:
Wooden handles bring a timeless charm to your garden tools and provide a natural grip that many gardeners prefer. However, they require regular sealing to prevent rot and splintering, especially in wet climates.
I've found that ash or hickory handles last longest when properly maintained, making them ideal for gardeners who enjoy a traditional feel. For those who want to avoid maintenance, this option might not be the best long-term choice.
Fiberglass handles have revolutionized gardening tools with their lightweight yet sturdy construction. They resist moisture, rot, and cracking, making them perfect for gardeners who work in all weather conditions. The smooth surface also reduces hand fatigue during long weeding sessions.
I've used fiberglass handles in my own garden for over five years without any issues, even with daily use. This makes them the top choice for heavy-duty gardening and commercial applications.
For gardeners dealing with joint pain or arthritis, ergonomic rubber handles offer the best comfort. These handles are designed with contoured grips and shock-absorbing materials to reduce strain on your hands and wrists.
The rubber coating also provides excellent grip even when wet, which is a game-changer during rainy seasons. I've recommended these to several friends with hand issues, and they've reported significantly less discomfort after just a few uses.
When choosing the right handle, consider your gardening frequency and the specific tasks you perform. For occasional gardeners, a wooden handle might suffice and add aesthetic appeal.
However, if you're a dedicated gardener who spends hours weeding or cultivating, investing in a fiberglass or ergonomic rubber handle will pay off in comfort and durability. Don't forget to measure your current handle length before purchasing a replacement to ensure a proper fit.
Another important factor is the handle diameter. Thicker handles provide better leverage for tough jobs, while thinner ones offer more precision for delicate tasks. Most replacement handles come in standard sizes, but you can often find adjustable or custom-length options if needed.
For added comfort, look for handles with textured grips or ergonomic shapes that conform to your hand's natural position.
If you're unsure which option to choose, start with a fiberglass handle as it offers the best balance of durability and comfort for most gardeners. For a more traditional look, pair a fiberglass handle with a wooden grip cap to get the best of both worlds.
Remember, the right handle replacement can make your gardening tools last longer and make your time in the garden more enjoyable.
Before making your purchase, check the warranty and return policy of the manufacturer. Reputable brands often offer lifetime warranties on their handles, giving you peace of mind about your investment. With the right replacement, you'll be back to effortlessly maintaining your garden in no time.
How to replace a garden hoe handle in 5 simple steps
A broken or worn-out garden hoe handle can leave you struggling with an awkward grip or even unsafe tool use. The good news? Replacing it is a quick DIY project that costs less than $20 and takes less than 30 minutes.
Whether you're dealing with a splintered wooden handle or a cracked fiberglass one, these steps will restore your hoe to its full potential.
Before you begin, gather your replacement handle (wood, fiberglass, or ergonomic rubber) and basic tools. Safety first: wear gloves to protect your hands from splinters or sharp edges. This guide covers standard hoe designs, but always check your specific tool's manufacturer instructions for unique features.
Step-by-Step Garden Hoe Handle Replacement
- 1
- 2
- 3
- 4
- 5
If your new handle feels too loose after installation, reinforce it with a zip tie around the base or add a rubber sleeve for extra friction. For metal handles, ensure they’re coated to prevent rust—especially if you garden in wet climates.
Always store your hoe in a dry place to extend its lifespan.
Pro tip: Keep a spare handle on hand for quick swaps during gardening season. I like to store mine in a tool caddy near my shed so I’m never without a working hoe when weeds pop up unexpectedly! 🌱
When in doubt, consult your hoe’s manufacturer guidelines or visit a local garden center for expert advice. With the right tools and a little patience, you’ll have a like-new hoe ready for your next gardening adventure! ✂️