
Picking
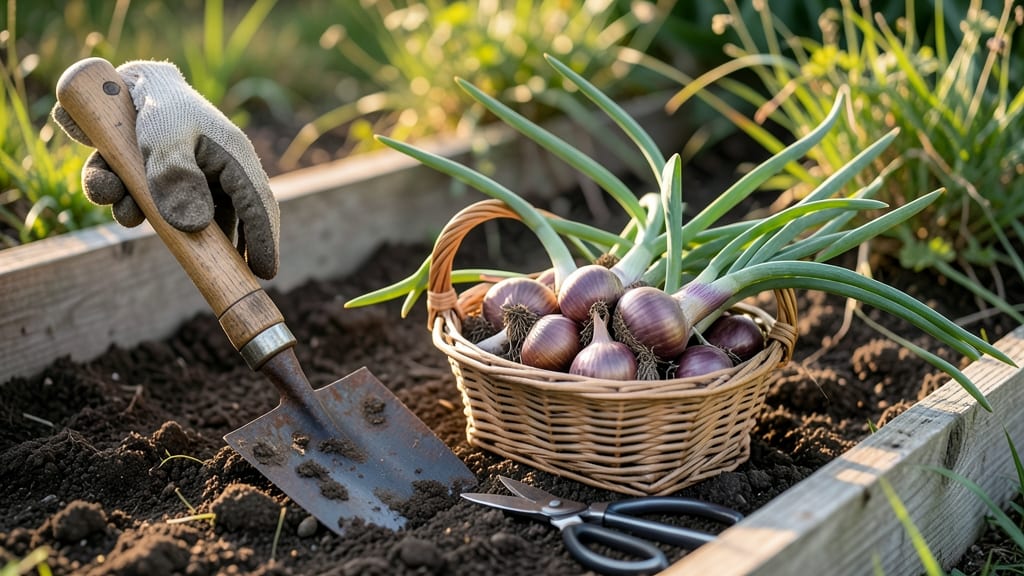
Harvesting shallots from your garden at the right time means the difference between plump, flavorful bulbs and shriveled scraps that won’t last the season.
Shallots—those pungent, versatile alliums—can turn your garden into a flavor powerhouse, but timing your harvest wrong means sacrificing bulb size and storage potential.
Most gardeners wait until July or August when the tops turn yellow and begin to die back, but there’s more to it than just the calendar. You’ll need to check for firm bulbs, dry papery skin, and browned leaves to know they’re ready.
In this guide, I’ll walk you through the exact signs to pull shallots, the tools you’ll need, and how to store them for months—so you can enjoy homegrown flavor all winter long.


When to harvest shallots for largest bulbs: key timing & visual cues
Timing your shallot harvest perfectly ensures you get the largest bulbs with maximum storage life. Unlike onions, shallots don't form a single bulb but grow as clusters, making timing even more critical. Harvest too early, and you'll end up with small, underdeveloped bulbs.
Wait too long, and they'll split or bolt—especially in hot climates. The ideal window falls between 105–120 days after planting, but visual cues are your best guide.
Start monitoring your shallots around mid-July in most USDA zones (like Zone 6a). Look for the foliage turning yellow and dying back—this is nature's signal that the bulbs have matured. However, don't rely solely on the calendar; soil conditions and weather play a huge role.
Cooler, wetter summers can delay harvest by 1–2 weeks, while dry, hot spells may speed up the process. Always check the bulb firmness and skin texture before pulling.
Key visual cues to watch for include:
- Yellowing tops (50–70% of leaves browned)
- Dry, papery skin on the bulbs
- Firm bulbs when gently squeezed (no give)
🌱 Summary: Harvest Timing & Conditions
| Stage | Days After Planting | Visual Cues | Soil Conditions | Action |
|---|---|---|---|---|
| Early Season | 90–105 days | Green tops, firm bulbs | Moist, well-draining | Wait; bulbs not fully developed |
| Ideal Harvest | 105–120 days | 50–70% yellow tops, dry skin | Slightly dry surface | Harvest immediately |
| Late Season | 120+ days | Fully brown tops, split bulbs | Dry, cracked soil | Harvest ASAP; risk of bolting |
💡 Pro Tip: Test one bulb by gently squeezing it. If it feels solid and dry, the rest are ready.
One common mistake is harvesting shallots when the tops are still green. This usually means the bulbs are underdeveloped and won't store well. I’ve seen gardeners pull shallots too early because they’re eager, only to end up with small, pungent bulbs that spoil within weeks.
Always wait until at least 50% of the foliage turns yellow—this ensures the bulbs have absorbed enough nutrients to reach their full size.
Soil conditions also impact harvest timing. If your garden soil stays too moist during the growing season, shallots may take longer to mature. Aim for well-draining soil with a pH between 6.0–7.0. In my experience, sandy loam soils yield the largest bulbs because they prevent waterlogging, which can cause rot.
If your soil is heavy clay, consider amending it with compost or perlite before planting to improve drainage.
Another critical factor is weather patterns. A sudden heatwave can cause shallots to bolt (send up flower stalks) prematurely, ruining your harvest. If you notice flower stalks emerging, pull the shallots immediately—even if the bulbs aren’t fully mature.
Conversely, cool, cloudy weather can delay harvest by 1–2 weeks. Always check the 7-day forecast before planning your harvest to avoid catching your crop in unexpected rain or heat.
For maximum bulb size, avoid harvesting during the hottest part of the day. Early morning is ideal because the soil is cooler and firmer, making it easier to dig without damaging the bulbs. Use a garden fork to gently loosen the soil around the plants before pulling.
Never yank the shallots—this can tear the bulbs and reduce their storage life. Instead, lift them carefully with the fork and shake off excess soil.
If you’re growing shallots in containers, the timing is slightly different. Container-grown shallots often mature faster due to limited root space, so start checking for harvest cues around 90–100 days. However, the same visual rules apply: wait for the tops to yellow and the bulbs to feel firm.
Just be extra gentle when harvesting from pots, as the roots are more confined and can break easily.
One final tip: If you’re unsure whether your shallots are ready, do a test harvest. Pull one bulb and check its size and skin texture. If it’s small or still has a shiny skin, wait a few more days.
If it’s firm and dry with papery skin, the rest are ready. This simple step can save you from harvesting too early and wasting your effort.
By paying attention to these visual cues and soil conditions, you’ll consistently harvest shallots at their peak—plump, flavorful, and perfect for storing all winter. The
Step-by-step shallot harvesting process: tools, techniques & common mistakes
Once your shallots show those telltale signs of readiness, it’s time to harvest carefully to preserve bulb quality. The process starts with the right tools and timing, then moves to gentle handling and proper curing.
Skipping any step—like rushing the drying phase—can lead to rotting or shriveled bulbs that won’t store well.
I’ve learned the hard way that overwatering before harvest or using dull tools can cause bruising, which shortens storage life. Let me show you how to do it right, from digging to curing, so your harvest lasts through winter.
Gather Your Tools
You’ll need a garden fork, pruning shears, gloves, and a basket. Avoid sharp tools that can puncture bulbs.
Loosen the Soil
Use your fork to gently lift bulbs from the soil—don’t dig too deep to avoid damage. Shallots grow in clusters, so work carefully.
Shake Off Excess Soil
Let the soil fall away naturally—don’t rinse bulbs. Moisture speeds up rot during curing.
Trim the Foliage
Cut tops to 1-2 inches above bulbs with clean shears. Leave roots intact for better drying.
Cure in a Dry, Dark Place
Spread bulbs in a well-ventilated area (like a garage or shed) for 2-3 weeks. Avoid direct sunlight to prevent scorching.
Store Properly
Once dry, place in mesh bags or braids in a cool, dark spot. Check monthly for spoilage.
One common mistake is harvesting too early—bulbs won’t store well if they’re still soft. Wait until 70% of leaves turn brown and bulbs feel firm when squeezed.
If your shallots split or rot during storage, it’s likely from overwatering before harvest or poor airflow during curing. Always prioritize drying time!