
Picking
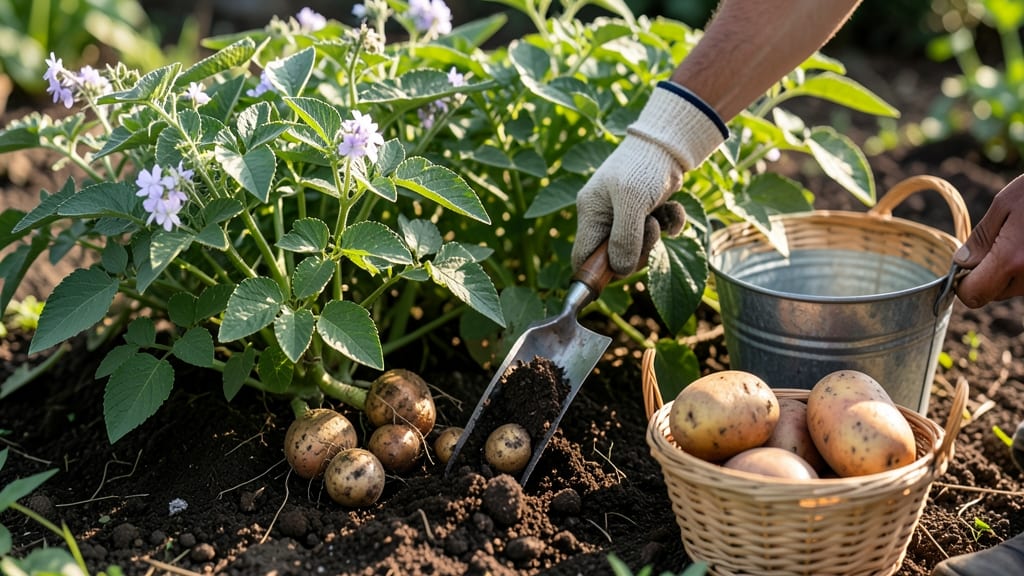
To pick potatoes from your garden at the perfect time means catching them when they’re fully mature but still firm and flavorful — not too early, not too late.
Harvesting potatoes at the wrong time means either digging up small, underdeveloped tubers or leaving them in the ground too long — risking rot or disease. Timing your potato harvest perfectly ensures maximum yield and flavor, but how do you know when they’re ready?
Most gardeners rely on two key signals: the skin slip test (where the skin peels away easily from the tuber) and the size of the potatoes themselves. But soil conditions and weather also play a role, especially in USDA Zone 6a, where early spring planting meets unpredictable late frosts.
In this guide, I’ll walk you through the exact steps to test your potatoes, the ideal size for harvest, and how to adjust for your local climate. By the end, you’ll never guess again — just dig up a perfect 🥔 harvest every time.


How to use the skin slip test to determine potato readiness
The skin slip test is the most reliable way to check if your potatoes are ready for harvest. Unlike guessing by days after planting or foliage color, this method tests the tuber's maturity directly.
When done correctly, it helps you avoid small, underdeveloped potatoes or overripe, shriveled tubers that spoil quickly. This test works for all potato varieties, from new potatoes to storage potatoes, making it a gardener's secret weapon.
Here's how it works: when potatoes mature, their skins become loose and slippery when gently rubbed between your fingers. This happens because the tuber's moisture content shifts as starches develop.
A positive skin slip test means your potatoes are at peak flavor and storage potential, while a negative result signals they need more time in the ground. Mastering this test ensures you harvest at the perfect moment for your garden's climate and variety.
Before performing the test, wait until your potato plants show signs of maturity, like yellowing foliage or flowers blooming. These visual cues help narrow down the harvest window, but the skin slip test is what confirms readiness.
For early varieties, you might test as early as 70 days after planting, while late varieties could take up to 120 days. Always test a few tubers to account for variability in your garden bed.
⚠️ CRITICAL: Never rely solely on the skin slip test for new potatoes, which should be harvested when they're 2-3 inches in diameter—their skins won't slip yet. This test is best for full-sized potatoes intended for storage or long-term use.
Step-by-Step Skin Slip Test
- 1 Choose a dry day for testing—wet soil or tubers can give false results. Wait until morning after a dry spell for the most accurate reading.
- 2 Dig up 2-3 tubers from different areas of the plant. Use a garden fork to avoid damaging the remaining tubers. Shake off excess soil.
- 3 Rub the tuber's skin between your thumb and forefinger. Focus on the shoulder area (where the stem meets the tuber) for the most accurate result.
- 4 Check for slipperiness. If the skin slips easily (like a banana peel), your potatoes are ready. If it feels tight and grippy, they need 1-2 more weeks.
- 5 Verify with size. Even if the skin slips, check that tubers are at least 2.5 inches in diameter. Smaller potatoes may still need time to reach ideal size.
- 6 Harvest immediately if the test is positive. Use a fork to lift plants gently, then cure potatoes in a dark, dry place for 1-2 weeks to develop thicker skins.
If your potatoes fail the skin slip test but the foliage has already died back, they may be overripe. In this case, harvest immediately to prevent rot or disease.
Overripe potatoes have shriveled skins and may sprout or develop green patches (a sign of solanine toxicity, which is harmful if consumed).
For storage potatoes, aim to harvest when the skin slips but before the foliage fully dies—this gives you the best balance of size and storage life.
For new potatoes, which are harvested young and small, skip the skin slip test entirely. Instead, dig up a few tubers when they reach 1-2 inches in diameter (usually 50-60 days after planting).
Their skins will still be tight and shiny, but their tender flavor makes them worth the early harvest. Always cook new potatoes immediately after harvesting to preserve their texture.
One common mistake is performing the skin slip test on wet tubers, which can give a false positive. Always test potatoes that have dried slightly after digging.
Another error is testing only one tuber—variability in your garden means you should check 3-5 tubers from different plants for an accurate reading. If most pass the test, it's time to harvest your entire crop.
Pro tip: Practice the skin slip test on a few test tubers a week before you expect harvest. This helps you get comfortable with the texture differences between ready and underripe potatoes. Over time, you'll develop an instinct for when your potatoes are perfect.
For organic gardeners, this method is especially useful since it avoids relying on chemical soil tests or synthetic fertilizers to predict maturity.
🌱 Once you master the skin slip test, you'll
Optimal potato size and soil conditions for harvesting
Potatoes reach their peak flavor and size when harvested at the right moment, but the ideal time depends on whether you're growing new potatoes or mature tubers. For new potatoes, harvest when they're 1-2 inches in diameter—typically 50-60 days after planting.
These smaller potatoes are tender and perfect for quick cooking. Mature potatoes, on the other hand, should be 3-5 inches in diameter and ready after 90-120 days, depending on the variety.
Soil conditions play a critical role in determining when to harvest. Well-draining soil with a pH between 5.0 and 6.5 ensures healthy tuber development. If your soil is too wet, potatoes can rot before harvest, while dry conditions may stunt growth.
In USDA Zone 6a, aim to harvest mature potatoes before the first frost—typically between late July and early September—to avoid damage from freezing temperatures.
Soil moisture is another key factor. Too much water can lead to disease pressure, while drought stress can cause tubers to become tough and woody. A consistent moisture level—about 1 inch of water per week—keeps potatoes growing steadily. If you notice the foliage wilting or turning yellow, it may be time to check the tubers, as these are signs of overmaturity or stress.
| Potato Type | Ideal Size | Days to Harvest | Soil Conditions | Best Time to Harvest |
|---|---|---|---|---|
| New Potatoes | 1-2 inches | 50-60 days | Moist, well-draining | Early season (June) |
| Mature Potatoes | 3-5 inches | 90-120 days | Warm, loose soil | Late summer (Aug-Sept) |
| Late Varieties (e.g., Russet) | 4-6 inches | 100-120 days | Cool, well-drained | Fall (Sept-Oct) |
Some potato varieties, like Yukon Gold or Red Pontiac, are best harvested when the skin slip test fails—meaning the skin peels away easily from the tuber.
However, for varieties like Russet potatoes, prioritize size over the skin slip test, as they often need more time to reach their full 5-6 inch diameter.
If you're growing early varieties, such as Kennebec, harvest when the tubers are 2-3 inches and the foliage starts to yellow.
Temperature also affects harvest timing. In cooler climates, like USDA Zone 6a, potatoes may mature more slowly, so extend the growing season with row covers or black plastic mulch. If nighttime temperatures drop below 50°F, tubers may stop growing, signaling it’s time to harvest.
Always dig a few test potatoes to check their size and readiness before committing to a full harvest.
For long-term storage, harvest mature potatoes when the foliage has completely died back, and the soil is dry. Cure them in a dark, humid space at 50-60°F for 1-2 weeks to thicken the skin and improve storage life.
Avoid harvesting in wet soil, as this can lead to rot and disease, ruining your entire crop.