
Shrubs
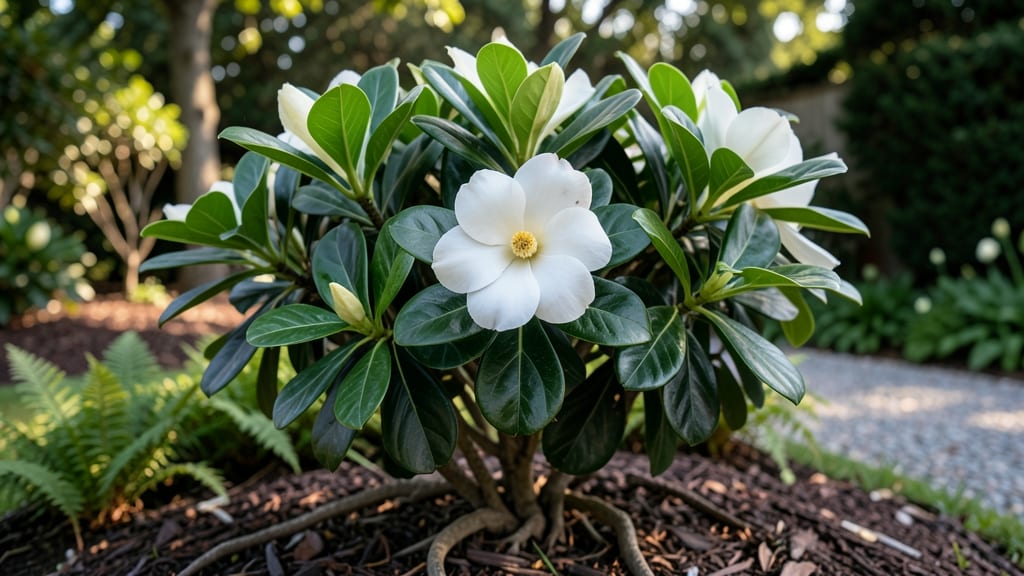
A full-grown gardenia’s 🌸 intoxicating scent and glossy leaves are worth the effort—but only if you prune it the right way. I’ve seen these shrubs go from fragrant showstoppers to sad, sparse shadows when pruning went wrong, and the difference comes down to timing and technique.
Most gardeners wait until after flowering to prune, but that’s just the start. The real secret is knowing which branches to trim, how much to cut back, and when to stop—because pruning too late or too aggressively can rob you of next year’s blooms.
I’ll walk you through the exact steps to revive a struggling gardenia and keep it thriving for years.
You’ll learn how to spot overgrowth, where to make your cuts for maximum fragrance, and which pruning tools actually help (and which ones hurt). No more guessing whether you’re doing it right—just science-backed methods that work for gardenias in USDA Zone 6a and beyond.
By the end, your gardenia will be blooming longer, smelling sweeter, and looking fuller than ever. Let’s get started with the pruning schedule that transforms a struggling shrub into a year-round masterpiece.
When and how to prune a full-grown gardenia for maximum blooms
Pruning your full-grown gardenia isn’t just about shaping its lush foliage—it’s the secret to unlocking year-round fragrance and vibrant blooms. The key lies in understanding seasonal timing and targeted cuts that encourage healthy growth without stressing the plant.
Unlike many shrubs, gardenias bloom on new wood, meaning pruning at the right time can double your flower production.
Most gardeners make the mistake of pruning too late or too aggressively, which can stunt blooms or invite disease. I’ve learned that the best time to prune is immediately after the plant finishes flowering—typically in late summer or early fall.
This gives your gardenia time to recover and set buds for next season while maintaining its glossy leaves and intoxicating scent.
Prepare Your Tools
Use sterilized pruning shears and sharp bypass pruners to make clean cuts. Disinfect tools with rubbing alcohol to prevent bacterial infections.
Identify Dead or Diseased Branches
Look for brown, mushy stems or branches with yellowing leaves. These should be removed first to improve air circulation and plant health.
Prune for Shape and Airflow
Remove crossing branches and overcrowded growth to maintain an open, rounded shape. Aim to keep the center light and airy.
Encourage New Growth
Cut back overly long branches by one-third to stimulate new wood where next year’s blooms will form.
Clean Up and Fertilize
Remove all pruned debris from the area and apply a balanced fertilizer (10-10-10) to support recovery and bud formation.
When pruning, always cut just above a leaf node or bud at a 45-degree angle. This encourages the plant to grow outward rather than inward, maintaining its natural shape and preventing a dense, bushy center that blocks sunlight.
I’ve found that gardenias respond best to light pruning—never remove more than one-third of the plant’s foliage in a single session.
Another critical tip is to avoid pruning in winter, as this can delay spring blooming. Gardenias are sensitive to cold, and new cuts may not heal properly during dormancy.
Instead, focus on light maintenance pruning in early spring to remove any frozen or damaged tips from the previous winter.
Healthy gardenias produce fragrant blooms on new growth, so timing is everything. If you prune too early in the season, you risk reducing flower production. My rule of thumb?
Wait until after the last bloom has fallen and the plant shows signs of new leaf growth—usually in late August or September in most climates.
For container-grown gardenias, pruning is even more important to maintain their compact size. Use the same techniques but be extra cautious not to over-prune, as potted plants have limited root systems and recover more slowly. Always water deeply before and after pruning to reduce stress on the plant.
After pruning, monitor your gardenia for new growth signs like fresh leaves or bud formation. If you notice yellowing leaves or dropping buds, it may indicate over-pruning or nutrient deficiency. In this case, apply a light fertilizer and keep the soil consistently moist until recovery is complete.
With the right pruning technique and seasonal timing, your gardenia will reward you with larger, more fragrant blooms and a fuller, healthier appearance. The key is patience—gardenias thrive on gentle encouragement, not harsh cuts.
Think of pruning as a conversation with your plant, guiding it to grow in its most beautiful and fragrant form.
Common pruning mistakes that kill gardenia fragrance (and how to fix them)
Pruning your full-grown gardenia wrong can turn its sweet fragrance into a distant memory. I’ve seen gardeners accidentally over-prune their plants, leaving them bare and struggling to recover. The worst part? These mistakes often go unnoticed until the next blooming season—when it’s too late to fix the damage.
Let’s fix that by identifying the top 3 pruning mistakes and how to correct them before your gardenia’s health declines.
One of the most common errors is pruning at the wrong time of year. Gardenias bloom on old wood, meaning their flowers develop on branches from the previous year. If you prune too late in the season, you risk removing next year’s flower buds.
Even worse, cutting back too aggressively can shock the plant, leading to stunted growth and fewer blooms. The solution? Prune immediately after flowering, but never after mid-summer.
Another silent killer of gardenia fragrance is using dull or dirty pruning tools. Jagged cuts tear the bark, inviting fungal infections and pests. I’ve seen gardeners use hedge trimmers or scissors, which crush stems instead of making clean cuts.
Always use sharp, sterilized bypass pruners and clean them with rubbing alcohol between cuts to prevent disease spread.
⚠️ WARNING: These Pruning Mistakes Are Ruining Your Gardenia’s Fragrance ⚠️
Cutting back more than 1/3 of the plant at once removes too many flower buds and weakens the shrub. Fix: Limit pruning to 10-20% of the plant per session.
Pruning after August 1st removes next year’s blooms. Fix: Prune immediately after flowering (June-July) to encourage new growth for fall.
Bacteria from unsterilized tools spread leaf spot disease. Fix: Sterilize pruners with rubbing alcohol between cuts.
If your gardenia’s fragrance has already faded, don’t panic. Start by reducing stress with proper watering—gardenias need consistently moist soil but hate soggy roots. Apply a balanced fertilizer (10-10-10) in early spring to encourage new growth, and avoid heavy pruning for at least one full growing season.
Let the plant recover while you focus on light maintenance pruning to shape it gently.
For recovery, focus on removing only dead or diseased branches in the first year. This helps the plant redirect energy to healthy growth. Once new blooms appear (usually 12-18 months later), you can resume normal pruning.
Patience is key—your gardenia’s fragrance will return stronger than ever with the right care.
To keep your gardenia thriving, always prune in stages and avoid cutting into old wood after summer. Use the right tools—like bypass pruners—and make cuts just above a leaf node for cleaner healing. With these fixes, your gardenia will reward you with year-round fragrance and lush foliage.