
Watering
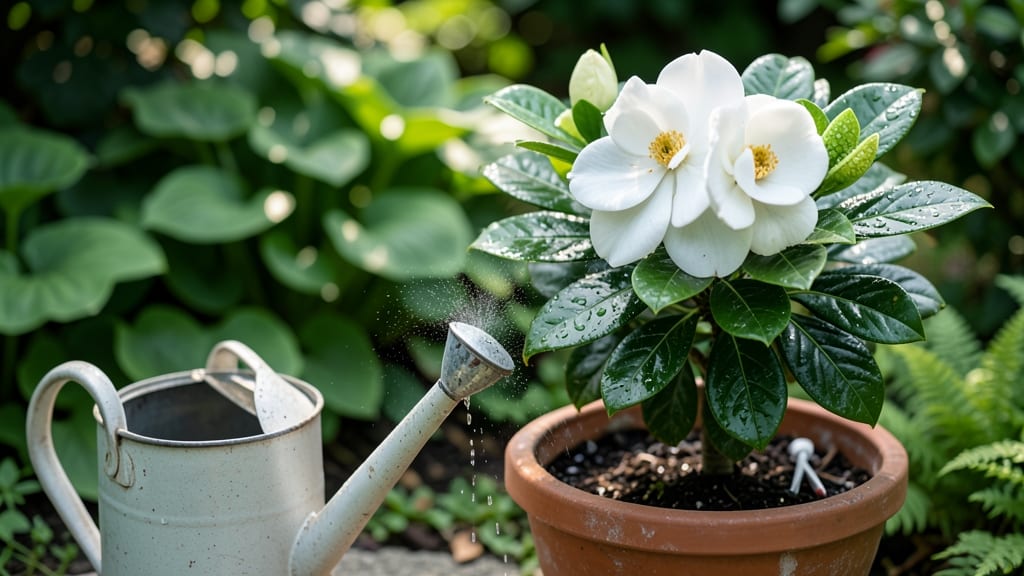
Your gardenia’s water requirements are the single most important factor in getting those creamy-white blooms to thrive — and getting it wrong means wilting leaves or root rot before you even see a bud.
Picture this: you’re watering every day, but your plant still looks thirsty. Or worse, the soil stays soggy for weeks, and the roots start to suffocate. The truth?
Gardenias 🌸 hate guesswork. They need a precise balance—not too much, not too little—but most gardeners either drown them or let them dry out completely.
In this guide, I’ll break down the 3-step soak-and-dry method that keeps your gardenia happy, whether you’re in USDA Zone 6 or a warmer climate. You’ll learn how to read soil moisture, adjust for summer heat, and spot the early warning signs of over- or under-watering before it’s too late.
By the end, you’ll water with confidence—no more shriveled leaves or missed blooms. Let’s get your gardenia drinking just the right amount.
The 3-Step soak-and-dry method for perfect gardenia watering
Your gardenia thrives in tropical conditions, but recreating its natural rainfall patterns isn't about daily sprinkles—it's about deep, strategic hydration. Too much water causes root rot, while too little stunts blooms.
The soak-and-dry method mimics nature's rhythm, ensuring roots get oxygen while staying hydrated. This science-backed approach keeps your gardenia lush and fragrant all season.
Native to Southeast Asia, gardenias evolved in environments with heavy but infrequent rains followed by drying periods. Replicating this cycle prevents soggy soil while satisfying the plant's high moisture needs.
The key? Three distinct phases: thorough watering, complete drainage, and controlled drying. Let's break down each step with exact timing and seasonal adjustments to maximize those iconic white blooms.
🌱 The 3-Step Soak-and-Dry Routine
-
Step 1: Deep Soak
Water until 1500-2000ml drains from the bottom. For potted gardenias, this means water runs freely from drainage holes. In-ground plants need 1-2 inches of moisture in the root zone. -
Step 2: Full Drainage
Wait 30-60 minutes to ensure excess water escapes. Check by pressing 1-2 inches deep—soil should feel damp but not soggy. This prevents anaerobic conditions that cause root rot. -
Step 3: Controlled Drying
Let the top 1-2 inches of soil dry between waterings. Test with your finger: if it feels dry to the touch, it's time to soak again. Adjust timing based on season and container size.
Timing is everything with gardenias. In spring and summer, complete the soak-and-dry cycle every 3-5 days—more often in extreme heat. For potted plants, this may mean daily checks, as containers dry faster than in-ground soil.
Use your finger as a moisture gauge: if the topsoil feels dry, it's time to repeat the cycle.
Seasonal adjustments are critical. During summer's peak heat, increase frequency to every 2-3 days and water early morning to reduce evaporation. In fall and winter, reduce to every 7-10 days, allowing more drying time as growth slows.
This mimics the plant's natural dormancy period in its tropical habitat.
Container size dramatically affects water needs. A 5-gallon pot may require daily checks in summer, while a 15-gallon container can go 3-4 days. For in-ground gardenias, mulch helps retain moisture while preventing soil compaction.
Apply 2-3 inches of organic mulch around the base, keeping it 2 inches away from the trunk to avoid rot.
Signs of proper hydration include deep green, glossy leaves and firm stems. If your gardenia's leaves feel soft or wilt, it's likely underwatered. Conversely, yellowing leaves or mushy stems signal overwatering.
The soak-and-dry method creates the perfect balance, ensuring roots get both oxygen and moisture—the dual requirements for healthy growth.
For indoor gardenias, humidity becomes a factor. Use a pebble tray with water beneath the pot to increase moisture levels, or place the plant on a humidifier tray.
This mimics the high humidity of their native tropical forests. Just avoid letting the pot sit in standing water, which can drown the roots despite the extra moisture.
Pro tip: Use rainwater or distilled water when possible, as gardenias are sensitive to chlorine and fluoride in tap water. If you must use tap water, let it sit 24 hours before watering to allow chemicals to dissipate.
This small adjustment can double your blooms by reducing stress on the plant's delicate roots.
Remember, consistency is key. Stick to the 3-step routine and adjust only for weather extremes. With this method, your gardenia will reward you with lush foliage and abundant blooms—the hallmark of a perfectly hydrated tropical beauty. 🌸
Signs your gardenia is thirsty, drowning, OR stressed (and how to fix it)
Your gardenia’s leaves tell a story—one that’s easy to misread if you’re not looking for the right clues. A droopy leaf might mean thirst, but it could also signal overwatering or even nutrient stress.
The key is checking both the leaves and soil before jumping to conclusions. I’ve seen gardeners water daily only to watch their plants decline because the roots were suffocating in soggy soil.
Start by pressing your finger 1-2 inches into the soil near the base of the plant. If it feels dry at that depth, your gardenia is thirsty. But if it’s cold and clumpy, you’ve got a drowning problem.
The difference between the two can mean life or death for your shrub. Let’s decode these signs so you can act fast.
| Issue | Visual Signs | Soil Test | Fix It Now |
|---|---|---|---|
| Thirsty | Drooping leaves that crisp up when touched; dry, brown leaf edges | Dry 1-2 inches deep; pulls away from pot edges | Deep water until it drains from bottom; repeat every 2-3 days |
| Drowning | Yellowing leaves starting at bottom; mushy stems; moldy soil | Cold, soggy; smells like wet dirt; water pools on surface | Stop watering; repot in fresh soil if roots are black/mushy; improve drainage |
| Stressed | Leaves curl upward; slow growth; buds drop before opening | Dry top layer but damp below; uneven moisture | Adjust watering to consistent schedule; check for pests; fertilize lightly |
For thirsty gardenias, the fix is simple: water deeply until it flows from the drainage holes, then wait until the top 1-2 inches of soil feel dry again. I’ve revived many a wilting gardenia by switching to this soak-and-dry method.
But if you’re dealing with drowning, you’ll need to act faster—roots can rot in as little as 48 hours of waterlogged conditions.
Stressed gardenias often need a watering schedule reset. Try watering at the same time daily (morning is best) and monitor soil moisture with a moisture meter or your finger.
If the soil feels like a sponge at the top but damp below, you’re likely overwatering. Cut back to every 5-7 days and watch for improvement in 2-3 weeks.
Pro tip: Mulch around your gardenia with 2-3 inches of organic mulch (like pine bark) to lock in moisture and keep roots cool. This single trick can cut your watering needs by 30% while preventing soil crusting that blocks water absorption.
Just avoid piling mulch against the stem—keep it 2 inches away to prevent rot.
Finally, if your gardenia’s leaves are yellowing with green veins, it’s often a sign of iron deficiency caused by overwatering. Flush the soil with chelated iron fertilizer and reduce watering frequency. With the right adjustments, your gardenia will bounce back—and those fragrant blooms will return in no time. 🌸