
How To
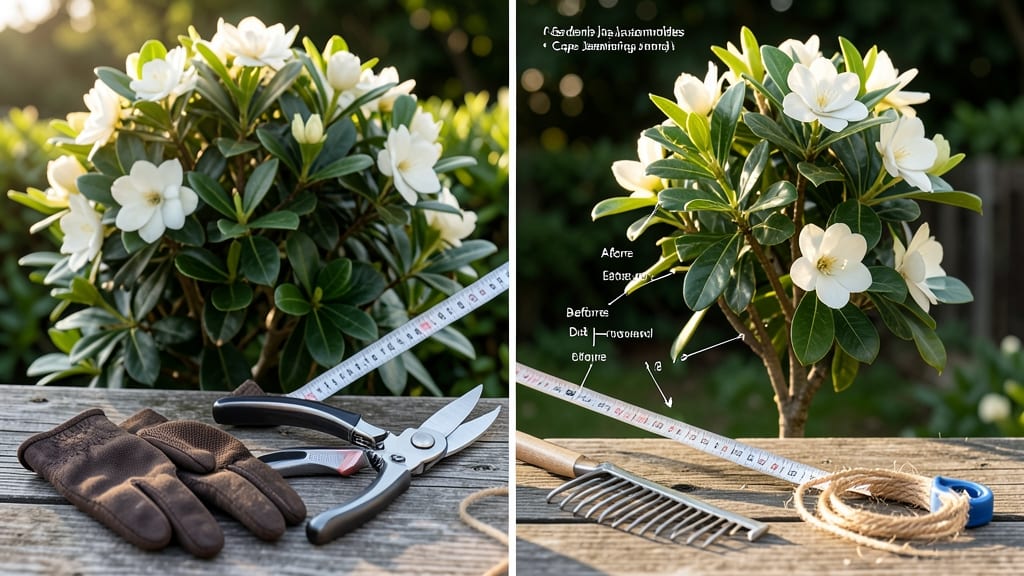
You can safely cut back gardenias by up to one-third of their height without harming them — the trick is timing, technique, and knowing where to stop.
Overgrown gardenias 🌸 can lose their lush blooms and compact shape, but aggressive pruning often backfires, leaving plants stressed or even dead. The key lies in understanding exactly how much you can trim without shocking these delicate shrubs.
Most gardeners wait until late winter or early spring, just as new growth begins, to prune. This timing ensures the plant has energy to recover before summer heat sets in. But even then, cutting too much can stunt flowering or expose the plant to pests.
In this guide, I’ll walk you through the step-by-step process, including how to identify healthy stems, the right tools to use, and post-pruning care to encourage vibrant regrowth. You’ll also learn common mistakes to avoid, so your gardenias thrive after pruning.
Safe pruning limits for gardenias: how far you can cut without damaging growth
Pruning gardenias is an art of balance—too little and your shrub becomes overgrown, while too much can shock the plant into decline. The 1/3 rule is your golden guideline: never remove more than one-third of the plant's foliage in a single session.
This rule applies to both height reduction and branch thinning to maintain the plant's energy reserves for regrowth.
Gardenias are sensitive to aggressive cuts, especially since they produce blooms on new wood. Over-pruning can lead to yellowing leaves, stunted growth, or even death if the plant's root system can't support the remaining foliage.
Always prioritize healthy stems over drastic reshaping to preserve the plant's natural form and flowering potential.
Seasonal timing is equally critical. Late winter or early spring, just before new growth begins, is the ideal pruning window for gardenias. This timing allows the plant to recover quickly and enter the growing season with a strong foundation. Avoid pruning in summer or fall, as these periods can stress the plant and reduce its ability to set buds for next year's flowers.
To identify dead wood versus healthy stems, look for these visual cues: Dead branches are typically brown and brittle, while healthy stems are green or brown with a slight flexibility. Another test is the scratch test—scratch the bark with your fingernail.
If it reveals green underneath, the branch is alive; if it's dry and hollow, it's dead and should be removed entirely.
| Pruning Limit | Action | Season | Visual Cue |
|---|---|---|---|
| Up to 1/3 of foliage | Safe pruning | Late winter/early spring | Green leaves, flexible stems |
| More than 1/3 | Avoid—risk of shock | Any season | Yellowing leaves, no new buds |
| Dead branches only | Remove entirely | Year-round | Brown, brittle, hollow |
| Pruning for shape | Limit to outer branches | Early spring | Healthy growth points |
When pruning for shape, focus on outer branches first to maintain the plant's natural pyramidal form. Avoid cutting into the older, woody center, as this can expose the plant to pests and diseases.
Instead, remove crossing or rubbing branches to improve air circulation and reduce the risk of fungal infections, which thrive in dense foliage.
For overgrown gardenias, you can safely prune back 1/3 of the plant's height in one session, but spread this out over 2-3 years if the plant is severely neglected.
For example, if your gardenia is 6 feet tall and leggy, aim to reduce it to 4 feet over two years by pruning 1 foot per year. This gradual approach minimizes stress and allows the plant to adapt naturally.
Another critical tip is to never prune into old wood if you're hoping for immediate blooms. Gardenias produce flowers on new growth, so pruning too late in the season can delay or prevent flowering.
If you must prune in summer or fall, limit cuts to dead wood removal only and avoid reshaping the plant.
Always use clean, sharp pruners to make precise cuts just above a leaf node or bud. Ragged cuts can invite disease and pests, while clean cuts promote faster healing. After pruning, sterilize your tools with rubbing alcohol to prevent the spread of pathogens between cuts.
Post-pruning care is just as important as the cuts themselves. Water your gardenia deeply after pruning to help it recover, and apply a balanced, acidic fertilizer (like a 10-10-10 formula) to support new growth.
Monitor the plant closely for signs of stress, such as drooping leaves or wilting, and adjust care accordingly.
By following these pruning limits and guidelines, your gardenias will reward you with vibrant blooms and lush foliage for years to come. The key is patience and precision—never rush the process, and always prioritize the plant's health over aesthetic goals.
Step-by-step pruning process: when and how to trim gardenias for maximum revitalization
Pruning gardenias 🌸 correctly can transform a leggy, overgrown shrub into a bushy, blooming beauty—but only if you follow the right steps. The key is patience and precision. I’ve pruned dozens of gardenias, and I’ve learned that rushing or cutting too much can actually harm the plant.
Start by preparing your tools and understanding your plant’s growth cycle before making a single cut.
First, sterilize your pruning tools with rubbing alcohol or a 10% bleach solution to prevent disease spread. Use sharp bypass pruners for branches under ½-inch thick and a pruning saw for thicker stems.
Next, assess your gardenia’s bloom cycle: prune just after flowering (late spring) or in early spring before new growth begins. This timing gives the plant time to recover before summer heat stress sets in.
How Far Can You Cut Back Gardenias?
- Step 1: Identify dead or diseased branches first—cut these back to healthy tissue at a 45-degree angle.
- Step 2: Use the 'handshake method'—if two branches fit together like a handshake, one must go. Remove the weaker branch at its base.
- Step 3: Trim back overly long branches to just above an outward-facing bud or leaf node. Never cut into old wood.
- Step 4: For thick stems, cut in stages over 2-3 years to avoid shocking the plant. Never remove more than ⅓ of the plant’s height in one season.
- Step 5: Shape the plant by opening the center to improve airflow and sunlight penetration, which reduces fungal risks.
After pruning, inspect the cuts for smooth edges—ragged cuts invite pests. Apply a thin layer of pruning sealant (optional for gardenias) to large cuts over ½-inch thick to prevent moisture loss.
Then, focus on post-pruning care to help your gardenia bounce back. Water deeply to rehydrate the roots, and apply a balanced, acidic fertilizer (like 10-10-10) to support new growth.
In the weeks following pruning, monitor your gardenia for signs of stress, like yellowing leaves or wilting. If you see these, reduce watering slightly and avoid fertilizing until new growth appears. Gardenias are sensitive to over-fertilization, so stick to the every 4-6 weeks rule during the growing season.
Mulch around the base with pine bark or compost to retain moisture and regulate soil temperature.
Remember, the goal isn’t just to trim—it’s to revitalize. Pruning at the right time and with the right technique encourages your gardenia to produce more blooms next season while maintaining its natural shape.
With practice, you’ll develop an eye for what looks best, balancing form and function for a healthier, happier plant.