
Container Gardens
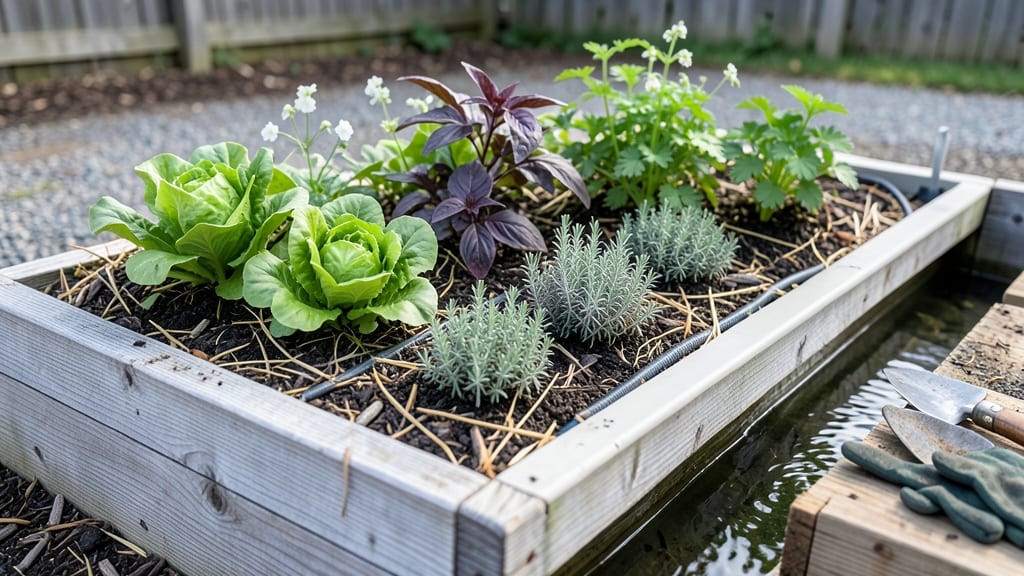
Repurposing old water troughs into raised garden beds turns neglected yard space into a thriving, space-saving garden oasis 🌱—no digging or heavy lifting required.
Small yards don’t mean small harvests—transforming old water troughs into raised garden beds is a brilliant way to maximize space while adding rustic charm to your garden. Whether you’re working with a balcony or a postage-stamp backyard, these layouts let you grow more without sacrificing style.
No special tools or construction skills are needed—just a few basic modifications to turn a trough into a self-contained growing system. The right plants, drainage tweaks, and a little creativity turn these sturdy containers into high-yield, low-maintenance beds that outperform traditional in-ground plots.
From vertical herb gardens to tiered veggie towers, I’ll walk you through 7 proven layouts that fit any corner, plus the plant picks and soil secrets that keep your troughs productive for years.
How to convert water troughs into functional raised garden beds
Old water troughs can transform into stunning, space-efficient raised garden beds with just a little creativity and preparation. These containers provide excellent drainage while offering a rustic aesthetic that blends beautifully with cottage or farmhouse-style gardens.
The key to success lies in proper modifications—like adding drainage and reinforcing the structure—to ensure your plants thrive for years.
Before diving in, gather materials like gravel or landscape fabric for drainage, high-quality potting mix, and optional wooden slats or metal brackets for reinforcement. Water troughs often come in galvanized metal, plastic, or even stone, each requiring slightly different adjustments.
For this guide, we’ll focus on metal troughs, which are the most common and durable choice for raised beds.
Step-by-Step Guide to Repurposing Water Troughs
-
Step 1: Clean and Inspect
Remove any debris or old water residue from the trough. Check for rust or weak spots in metal troughs and patch them with epoxy or metal sealant if needed.
-
Step 2: Add Drainage
Drill ¼-inch drainage holes along the bottom of the trough using a hole saw or drill bit. Space them 6 inches apart to prevent clogging. For plastic troughs, use a heat gun to melt holes gently.
-
Step 3: Layer Gravel or Fabric
Line the bottom with 1-2 inches of gravel or landscape fabric to improve drainage and prevent soil from washing out. This step is critical for shallow-rooted plants like herbs and lettuce.
-
Step 4: Reinforce the Structure
For long or heavy troughs, add wooden supports underneath or use metal brackets to secure them to a frame. This prevents warping or tipping, especially in windy conditions.
-
Step 5: Fill with Soil Mix
Use a lightweight potting mix combined with compost (ratio: 60% soil, 30% compost, 10% perlite). Avoid garden soil, as it compacts easily in containers. Fill the trough to 1-2 inches below the rim for easy watering.
-
Step 6: Choose the Right Plants
Opt for shallow-rooted plants like herbs (basil, thyme), succulents (sedum, echeveria), or leafy greens (lettuce, spinach). Avoid heavy feeders like tomatoes or corn, which may outgrow the space.
-
Step 7: Water and Mulch
Water thoroughly after planting and apply 1 inch of mulch (straw or shredded bark) to retain moisture. Water troughs dry out faster than in-ground beds, so monitor soil moisture closely during hot summer months.
One of the biggest advantages of water trough raised beds is their versatility. You can stack them vertically to save space, arrange them in a herb spiral for efficient growing, or even hang them on walls for a unique focal point.
Just ensure each trough has equal sunlight exposure—most plants need 6+ hours of direct sun daily for optimal growth.
For added durability, consider lining the inside of the trough with landscape fabric before adding soil. This prevents soil erosion and makes cleanup easier. If your troughs are placed on uneven ground, use leveling blocks or cinder blocks to create a stable base.
This small adjustment can extend the lifespan of your garden beds by years.
Finally, don’t overlook the aesthetic potential of water trough gardens. Paint the troughs in earthy tones or leave them rustic for a farmhouse look. Add solar-powered lights or drip irrigation to enhance functionality while keeping your garden low-maintenance.
With these steps, your repurposed troughs will become a productive and picturesque centerpiece.
Pro tip: If you’re using plastic troughs, avoid direct sunlight for long periods, as they can warp. Instead, place them in partial shade or use a light-colored paint to reflect heat. For metal troughs, a coat of non-toxic paint not only improves appearance but also protects against rust.
7 Space-saving water trough raised garden bed layouts for small yards
Water troughs offer the perfect solution for small-space gardeners—durable, weather-resistant, and ready to transform into stylish growing spaces. These 7 layouts maximize every inch while keeping maintenance simple, whether you're growing herbs, veggies, or flowers. Each design prioritizes vertical growth and efficient use of space without sacrificing aesthetics.
My favorite approach is the tiered stacking system, which creates a cascading garden effect perfect for balconies or patios. You can stack troughs at varying heights, connecting them with wooden planks or metal brackets for stability.
This not only saves floor space but also adds visual interest with layers of greenery. For urban gardeners, the corner installation is a game-changer—fitting snugly into tight spaces while maximizing sunlight exposure.
| Layout Name | Space Used | Best For | Sun Needs | Key Feature |
|---|---|---|---|---|
| Tiered Stack | Vertical (3-4 ft tall) | Herbs, lettuce, strawberries | Full sun (6+ hrs) | Multi-level growing |
| Corner Hugger | 2 ft x 2 ft footprint | Succulents, peppers, basil | Partial sun (4-6 hrs) | Fits tight corners |
| Window Box Hybrid | 1 ft deep x 3 ft long | Flowers, microgreens | Full sun to partial shade | Mounts to walls |
| Spiral Vine Garden | Curved 4 ft length | Cucumbers, beans, nasturtiums | Full sun (6+ hrs) | Vertical trellis support |
| Double-Stacked Planter | 2 troughs stacked | Tomatoes, peppers, carrots | Full sun (6+ hrs) | Deep root space |
| Hanging Trough | Suspended 3 ft above ground | Herbs, radishes, lettuce | Partial sun (4-6 hrs) | Space-saving suspension |
| Modular Grid | 4 troughs in 2x2 grid | All-purpose veggies | Full sun (6+ hrs) | Expandable system |
The window box hybrid is perfect for apartment balconies or sunroom windowsills, where you can mount troughs horizontally along walls. This layout works beautifully with shallow-rooted plants like basil, thyme, and radishes, which thrive in just 6-8 inches of soil depth.
For a whimsical touch, try the spiral vine garden—bend a trough into a gentle curve and train climbing plants like cucumbers or nasturtiums to grow upward along a trellis.
If you're working with limited sunlight, the modular grid lets you rotate troughs throughout the day to follow the sun. Place taller plants like peppers