
Picking
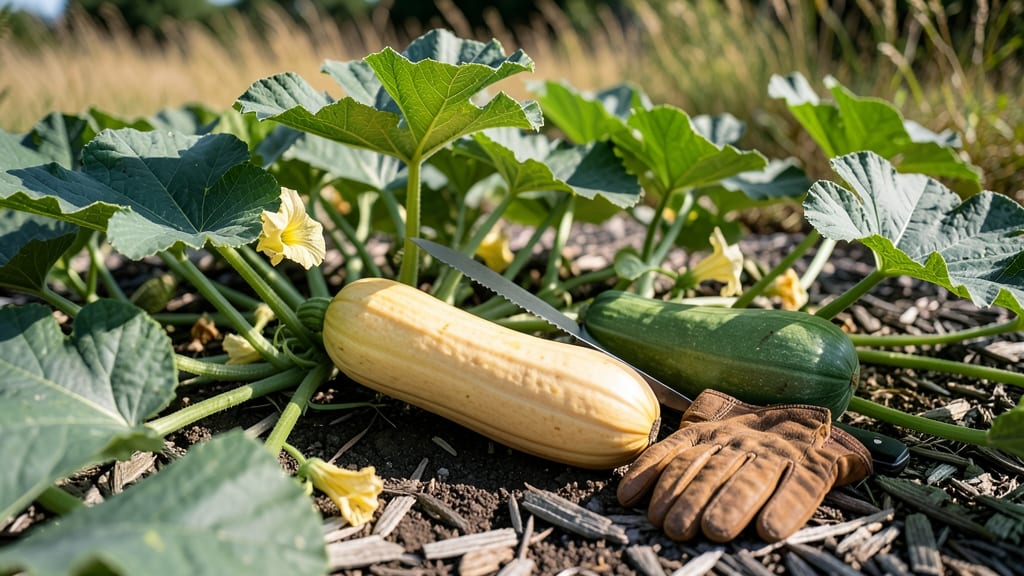
Harvesting spaghetti squash from the garden at the right time means the difference between tender, silky strands and tough, rubbery flesh 🎃 — and the key is knowing exactly when to pull it from the vine.
Picture this: you’ve nurtured your spaghetti squash all season, only to slice into one that’s either rock-hard or mushy. That’s the frustration of harvesting too early or too late, and it’s completely avoidable with the right cues.
In this guide, I’ll walk you through the three foolproof signs that your spaghetti squash is ready to harvest—no guesswork involved. You’ll also learn how to adjust for your planting window and what happens if you miss the mark.
By the end, you’ll confidently pick your squash at peak ripeness, every time, and enjoy that restaurant-quality texture at home.
3 Visual cues to harvest spaghetti squash at perfect ripeness
Timing your spaghetti squash harvest is the difference between silky, sweet strands and tough, fibrous disappointment. Unlike other winter squash, spaghetti squash has three distinct visual cues that signal peak ripeness—ignoring any one of them risks ruining your harvest.
I’ve learned this the hard way after harvesting too early (and regretting it later with mushy, underdeveloped flesh) and too late (when the squash turned rubbery and bitter).
The key is watching for three non-negotiable signs simultaneously: the rind color shift, the stem’s drying process, and the vine’s behavior. These cues work together like a checklist—when all three align, you’ve got a perfect squash.
Below, I’ll break down each sign with side-by-side comparisons so you can spot the difference between "ready" and "overripe" in seconds.
Pro Tip: Always harvest on a dry morning after the dew has evaporated. Wet squash bruises easily, and you don’t want to risk damaging that perfect specimen before it even makes it to your kitchen.
Here’s where most gardeners go wrong: they rely on one cue alone, like rind color, and miss the others. For example, a squash might look yellow but still have a green stem—that’s a sure sign it needs more time.
Or, the vines might be dying back, but the rind is still soft and green, meaning it was harvested too late. Always check all three signs before cutting your squash.
I once harvested a batch based solely on rind color, only to discover the stems were still moist. The result? A watery, seedy mess instead of the creamy strands I’d hoped for. That mistake taught me to double-check every squash before harvesting—especially if you’re growing multiple plants at once.
Another common mistake is assuming size equals ripeness. Some spaghetti squash varieties stay small but mature fully, while others grow large but remain underripe. Never judge by size alone—always verify with the three cues above.
For example, a 6-inch squash with a hard rind and dry stem is ready, while a 10-inch squash with a soft rind is overripe.
If you’re in a warmer climate (USDA zones 8-10), your squash might ripen faster—sometimes in as few as 80 days. In cooler zones (3-6), expect 100-120 days to maturity. Pay attention to your local first frost date and adjust your harvest timeline accordingly.
For example, if frost is predicted in 3 weeks, prioritize harvesting even if one cue isn’t fully
How long does spaghetti squash take to mature? Timing by planting month
Spaghetti squash thrives with 80-120 days to full maturity, but your planting month dramatically shifts your harvest window. In USDA zones 3-10, timing is everything—plant too early, and you risk frost damage; too late, and your squash may never reach peak sweetness.
Let’s break down the exact days to harvest based on when you plant, plus how to adjust for your local climate.
Most gardeners plant spaghetti squash after the last frost (typically April-May in zones 3-7). In warmer zones (8-10), you can start as early as March or even late February.
Each month of planting shifts your harvest by roughly 30 days, so knowing your target window helps you plan for late-summer to early-fall harvests.
If you’re in a cooler zone (3-5), extend your growing season by planting in late May and using row covers to protect from early frosts. In hotter zones (8-10), plant in March to avoid the peak summer heat, which can reduce sweetness.
Always aim to harvest before the first frost—spaghetti squash won’t survive freezing temperatures.
Pro tip: Track your first frost date and count backward 80-100 days to determine your ideal planting window. For example, if your first frost is October 15, plant by mid-July at the latest to ensure a timely harvest.
Adjust for early or late seasons by monitoring rind color and stem dryness—these are your best indicators of readiness.
For gardeners in USDA zone 6a (like me!), I’ve found planting in late April yields the sweetest squash by early September. The key is balancing warmth and daylight—too much heat too soon can rush maturity, while cooler temps slow it down.
Always prioritize consistent moisture and full sun to keep your squash on track for that perfect harvest window.