
Tools
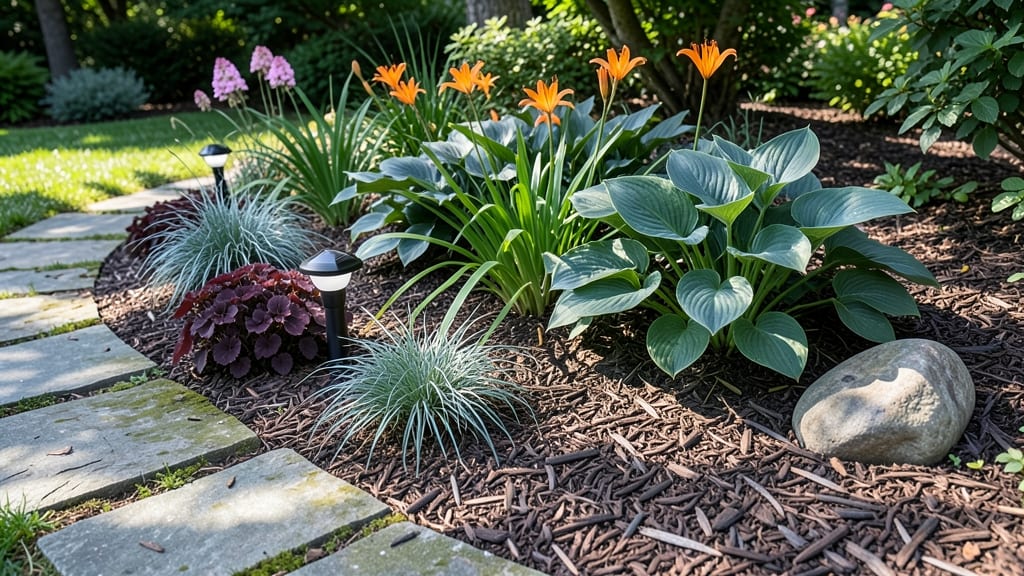
Creating mound garden bed ideas that elevate your plants while solving drainage woes is easier than you think—and the results are stunning.
Picture this: no more soggy roots or wasted water, just thriving 🌱 mound garden bed plants that bloom effortlessly in Zone 6a. Whether you’re working with a slope, small space, or raised bed, these designs transform your yard into a functional and eye-catching garden.
From tiered spirals to keyhole shapes, we’ll explore how to build mounds that improve airflow, deter pests, and even make harvesting easier. Plus, I’ll share the best plant pairings for drought-resistant or shade-tolerant spots, so your garden stays lush all season.
Ready to ditch the flat beds? Here’s how to design, build, and maintain mounds that work as hard as they look—step by step, with zero guesswork.
5 Creative mound garden bed designs for better drainage & plant health
Mound garden beds solve poor drainage while adding visual interest to your landscape. By elevating plants, you create better airflow around roots, reduce soil compaction, and even improve accessibility. These designs work especially well in clay-heavy soils or areas prone to waterlogging.
Whether you have a small patio or a spacious yard, these five shapes offer both functional benefits and aesthetic appeal.
The key to success lies in soil composition. A well-built mound should include a 1:1:1 ratio of topsoil, compost, and coarse sand or perlite for drainage. For larger mounds, consider adding gravel or broken pottery at the base to prevent water pooling.
Each design below accommodates these principles while offering unique advantages for your garden's layout and plant selection.
🌱 Comparison Table: Mound Garden Bed Designs
The spiral mound is perfect for small spaces like patios or balconies. Its twisting design creates microclimates where sun-loving plants like lavender can thrive on the outer edges while shade-tolerant herbs like parsley grow in the center.
The spiral's natural flow directs water outward, preventing pooling. For a 3-foot diameter spiral, aim for a 12-inch height with a 15-degree angle for stability.
A keyhole mound features a central access point surrounded by concentric circles, making it ideal for herb spirals or pollinator gardens. The open center allows easy maintenance while the raised edges prevent water from pooling.
To build one, start with a 12-inch deep gravel base, then layer compost-rich soil in gradually increasing circles. Place drought-resistant plants like rosemary at the outer edge where they receive the most sun.
The crescent mound follows natural curves, making it ideal for landscaping borders or following the contour of a hillside. Its gentle slope ensures water drains evenly to the edges. For a 5-foot wide crescent, use native plants like coneflowers or black-eyed Susans to blend seamlessly with the surroundings.
The soil mix should include 20% perlite to enhance drainage while retaining moisture for root development.
For vegetable gardens or sloped areas, a tiered mound offers unparalleled drainage control. Each tier acts as a separate growing level, allowing you to plant different crops with varying water needs.
Start with a 6-inch base layer of coarse sand, then build tiers 4-6 inches apart using landscape fabric to separate layers. The top tier should be 12-18 inches high to maximize sun exposure for leafy greens.
A circular mound serves as a stunning centerpiece in any garden. Its symmetrical shape promotes even water distribution while creating a focal point. For a 4-foot diameter mound, use a 50/50 mix of topsoil and compost, then top with 2 inches of mulch to retain moisture.
Plant ornamental grasses like fountain grass at the center, surrounded by perennials like daylilies or sedum for long-term interest.
Regardless of design, always test your soil before building. Aim for a pH between 6.0-7.0 and amend with lime or sulfur as needed. For container-like mounds, add slow-release fertilizer during construction. Mulching with wood chips or straw will help regulate soil temperature and reduce weed competition.
🌿 Whether you choose a spiral for vertical gardening or a tiered design for vegetables, mound beds transform challenging soil into a thriving ecosystem. Start small with a 3-foot diameter mound to test your soil mix, then expand based on what works best for your climate and plants.
How to build a mound garden bed step-by-step for maximum success
Building a mound garden bed is one of the best ways to transform soggy soil into a thriving, well-drained oasis for your plants. Unlike traditional raised beds, mounds don’t require borders, making them perfect for slopes or small spaces.
The key? A proper soil mix and strategic layering to ensure roots stay happy and healthy. Let’s break it down into simple, actionable steps so you can create a mound that lasts for years.
Before you grab your shovel, choose a location with at least 6 hours of sunlight daily. Avoid low spots where water pools, and test your soil’s drainage—if water sits after 6 hours, your mound will need extra sand or gravel.
For slopes, build your mound perpendicular to the grade to prevent erosion and ensure stability. Once you’ve picked the perfect spot, it’s time to roll up your sleeves and start building!
- 1 Mark Your Design: Outline your mound’s base using spray paint or a garden hose. For a standard mound, aim for a 3-4 foot diameter and a 12-18 inch height. Use a string line and stakes to create a circular or oval shape.
- 2 Remove Sod or Grass: Dig out the top 6 inches of soil and remove any grass, weeds, or debris. This prevents competition for nutrients and ensures your mound starts with a clean slate. Loosen the remaining soil with a fork or shovel to improve aeration.
- 3 Layer the Base: Start with a 2-inch layer of coarse sand or small gravel to improve drainage. Top it with a 4-inch layer of compost to enrich the soil. Mix in a 50/50 blend of topsoil and compost to create a nutrient-rich foundation for your plants.
- 4 Shape the Mound: Pile the soil mixture into a rounded, conical shape, sloping the sides gently to prevent erosion. Aim for a 12-18 inch height at the center, tapering to 6 inches at the edges. Use a rake to smooth the surface and create a gentle slope.
- 5 Plant Strategically: Place taller plants like sunflowers or tomatoes at the center, where they’ll get the most sunlight. Surround them with mid-height plants such as peppers or basil, and fill the edges with low-growing herbs like thyme or oregano. Space plants 12-18 inches apart for optimal airflow.
- 6 Mulch and Water: Apply a 2-3 inch layer of mulch (straw, wood chips, or shredded leaves) to retain moisture and suppress weeds. Water deeply 2-3 times per week, focusing on the base of the mound to encourage deep root growth. Avoid overhead watering to prevent soil erosion.
Once your mound is built, maintenance is minimal but crucial for long-term success. Top off the mulch every few months to keep weeds at bay, and replenish compost annually to maintain fertility.
If you notice plants wilting or soil compacting, add a thin layer of fresh compost or topsoil to refresh the bed. With the right care, your mound garden bed will thrive for years to come, producing bountiful harvests with minimal effort.
Pro tip: Add a drip irrigation system to automate watering and ensure consistent moisture. This is especially helpful if you’re growing drought-tolerant plants like lavender or rosemary, which prefer dry conditions once established. Happy gardening—your plants (and your back!) will thank you!